Jason Herd Music Production Masterclass
The most complete music production learning experience from a vocal house legend
The most complete music production learning experience from a vocal house legend
WATCH NOWBeatport #1 producer
25 years experience
Learn his workflow
Level up your own music
Masterclass? This is a monsterclass!
Jason Herd has created an incredible 12-hour, 6-part masterclass covering every aspect of modern music production.
If you only watch one masterclass this year, make it this one.
Jason Herd is in the studio. And you're invited
About Jason Herd
Over the past 25 years, Jason Herd has garnished worldwide acclaim under numerous monikers including Juan Kidd and Herd & Fitz. He’s released his signature vocal house sound on the world’s biggest labels including Defected, One Love, Sondos, Subliminal, Size, Toolroom, CR2, Azuli, Moody and many others. On your journey throughout clubland, you’re sure to have heard his Juan Kidd & Felix Baumgartner classic “Now You’re Gone feat. Lisa Millett” released on Defected and which was parked at Beatport’s #1 spot for weeks. His Herd & Fitz ft Abigail Bailey track “I Just Can’t Get Enough”, released on Subliminal records, landed in the Top-20 in 16 countries!
Jason is also one of the UK’s most respected DJs initially famous for his warm up sets back in the day for the like of David Morales, Frankie Knuckles, Erick Morillo and Joey Negro to name a few. He has graced the cover of DJ Mag with a “Live at Byblos Glasgow” mix compilation and has held residencies at Subliminal Sessions, Gods Kitchen, Gatecrasher and Sankeys in his hometown of Manchester UK.
He has also performed at the world’s biggest clubs and festivals including Global Gathering, Creamfields, Space Ibiza, Pacha Ibiza, Amnesia Ibiza, Stereosonic Festival Australia, One Love Australia, Redlight Paris, Space, Toolroom Knights and Pacha Brazil.
At every step of the way Jason produces music at the highest possible level, often writing and collaborating with talented session players and seasoned vocalists to achieve a sound that is both polished, yet retains the edginess and thickness that captivates the dance floor and hits in all the right places. His skillset is one that spans all areas of expertise including sequencing, tracking, arranging, mixing, mastering and even how to make sure your tracks have what the labels want.

Studio time with Jason
Now, for the first time, FaderPro has teamed up with Jason to offer you the chance to sit with him in his studio as he crafts a FULL production of one of his signature vocal house records.
With over 12 hours of in-depth work in the studio, this is our most complete music production course to date.
You'll learn how to find and work with session players and vocalists to deliver high quality performances that can elevate your sound and compete with the biggest records in the world.
So, are you ready to dive into the studio with Jason Herd?
Selected discography

Masterclass overview
![]()
Includes the original audio stems from Jason’s project. You can choose whether to download the stems themselves or a project file for Ableton, Cubase or Logic with the stems pre-loaded and lined up. All stems are dry, enabling you to follow along with Jason throughout the course to produce the same final mix.
Here's what to expect in each part
Part 1 - Starting a track
In part one of this 6-part masterclass, Jason creates the vibe for the track and records in all the major creative components that make up the record. Before starting, he discusses his setup and one of his favourite plug-ins, the FabFilter Pro-Q3. After that, he starts with the drums and programs a beat that will serve as the foundation for the track. Once the groove is established, other instruments including synth bass, piano and other keys, strings, guitar and live bass are all recorded.
![]() Includes the original audio stems from Jason’s project. You can choose whether to download the stems themselves or a project file for Ableton, Cubase or Logic with the stems pre-loaded and lined up. All stems are dry, enabling you to follow along with Jason throughout the course to produce the same final mix.
Includes the original audio stems from Jason’s project. You can choose whether to download the stems themselves or a project file for Ableton, Cubase or Logic with the stems pre-loaded and lined up. All stems are dry, enabling you to follow along with Jason throughout the course to produce the same final mix.
Chapter 1: Overview of Cubase & Templates
To kick things off, Jason gives you a brief but thorough overview of Cubase’s interface and his standard project template.
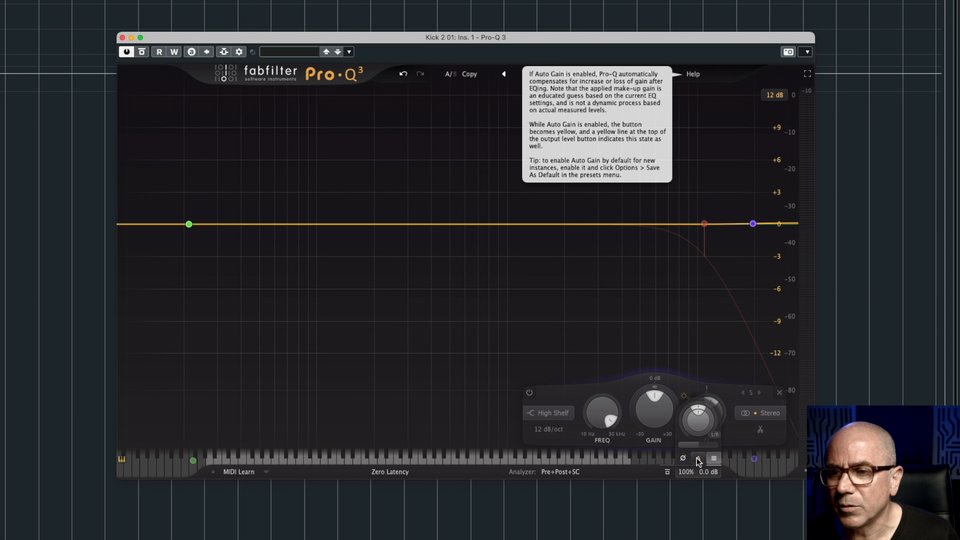
Chapter 2: Introduction to FabFilter Pro-Q 3
One of the most essential plugins in his arsenal, this chapter is a full walkthrough of FabFilter’s Pro Q-3. Jason takes you on a tour of the software’s interface and demonstrates its many functions and capabilities.
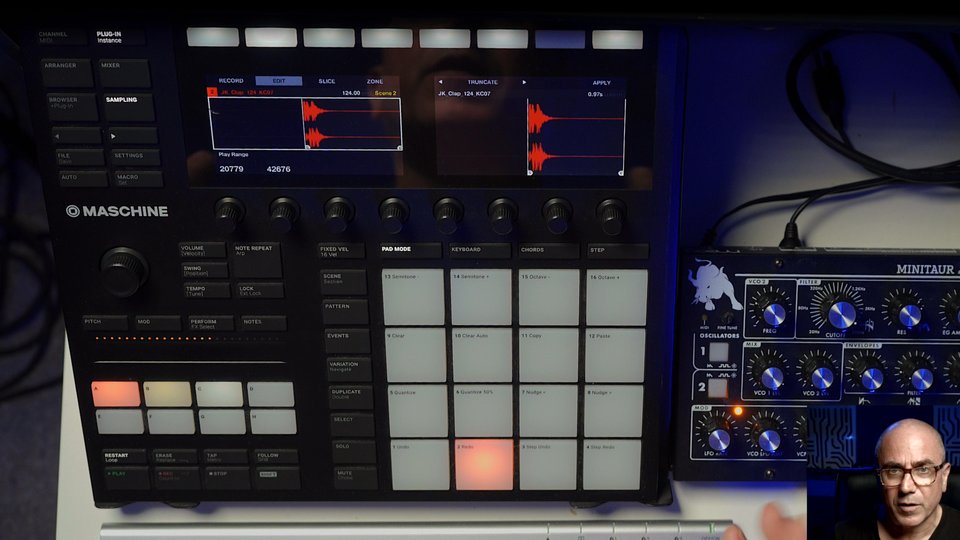
Chapter 3: Creating Drums with Maschine
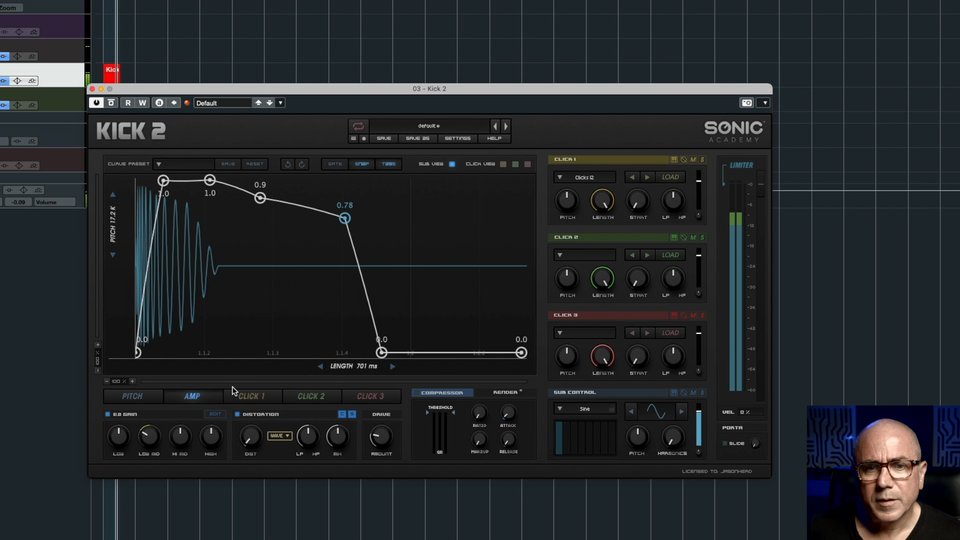
To get things off and running, Jason shows you his go-to method for using Native Instruments Maschine to design and program his drums. You’ll also get a look at how he crafts his kick drums and other percussion from scratch.
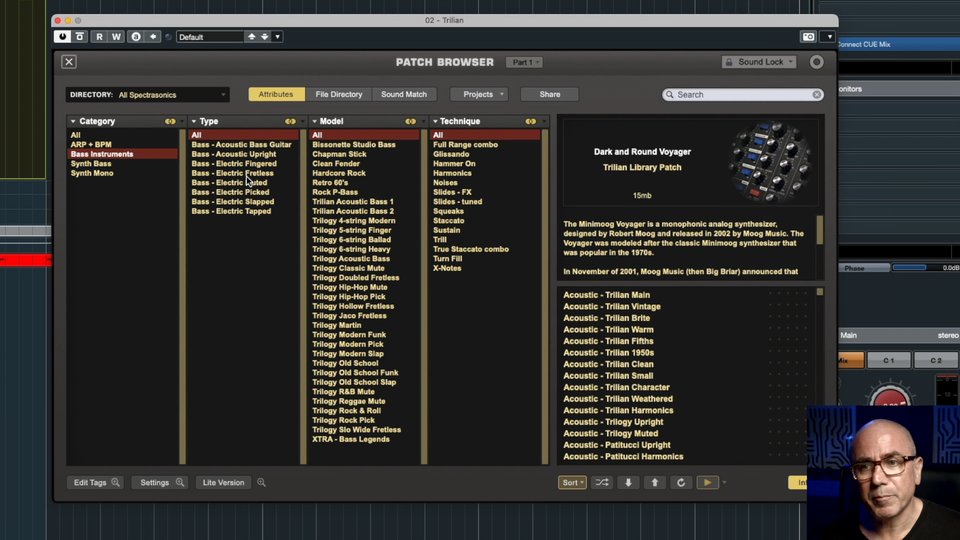
Chapter 4: Bass
With our initial groove sketched out, Jason starts playing around with some rough ideas for a bass line. Though a session player will be laying down the actual tracks later in the course, it’s important to program a rough idea to start with.
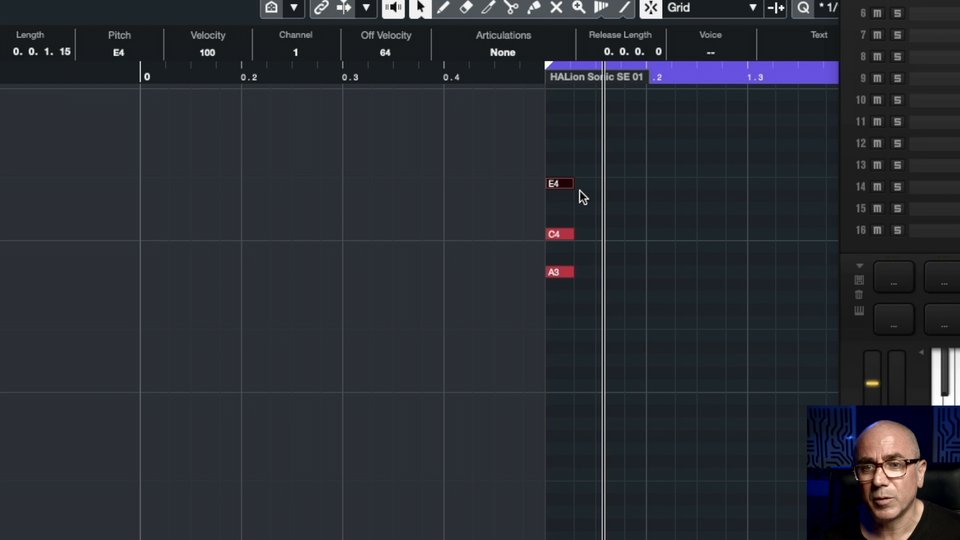
Chapter 5: Piano
Now that the drums and bass are programmed, Jason turns his attention to the melody, starting with some piano. Though keys will also be recorded by a session player later on, Jason painstakingly searches for the chord progression that will inform the rest of the track.
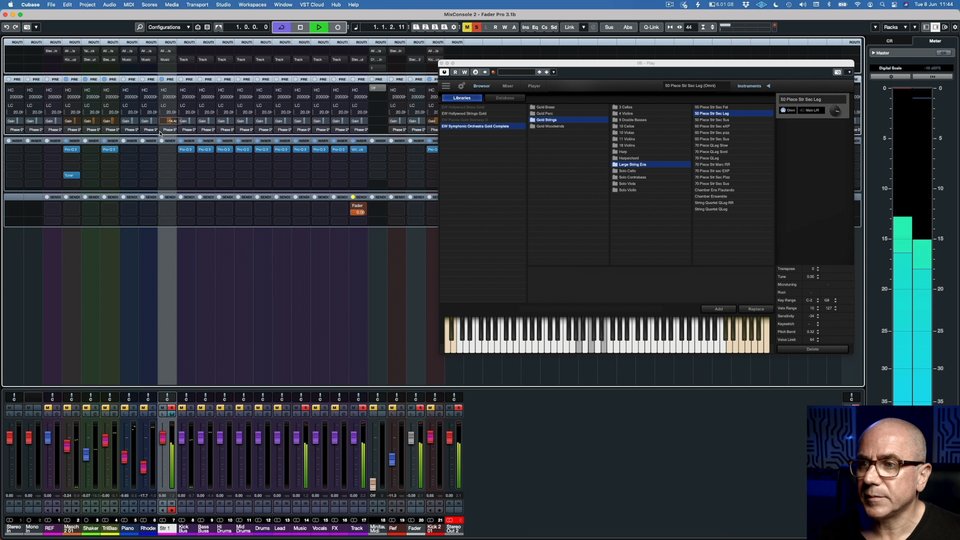
Chapter 6: Strings
Time to build on the piano pad with some strings. These will function as a pad that will rest on top of the piano chords throughout the bulk of the tune.
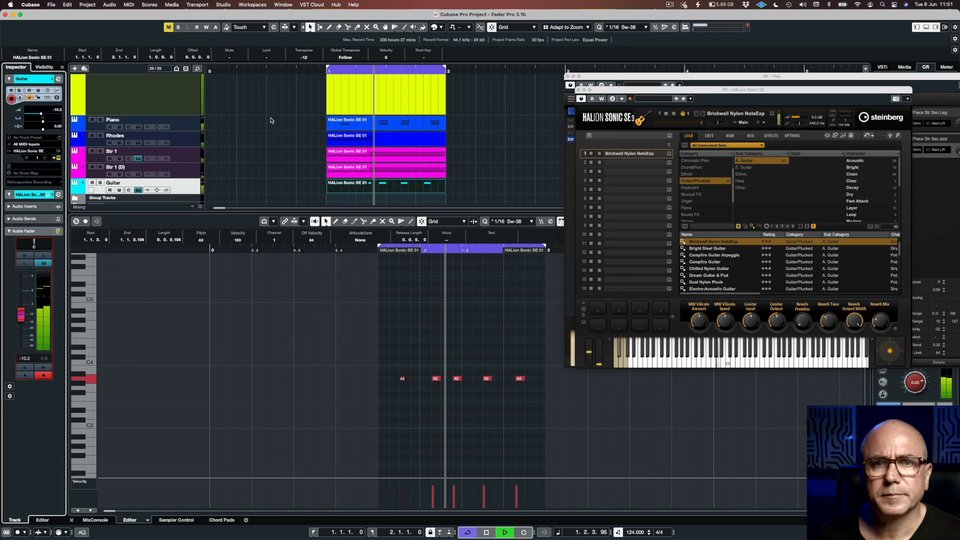
Chapter 7: Guitar
To further enhance the melody, Jason starts laying down ideas for a guitar line. In this chapter, Jason lays down a reference track that he will then send to a session player for the final product.
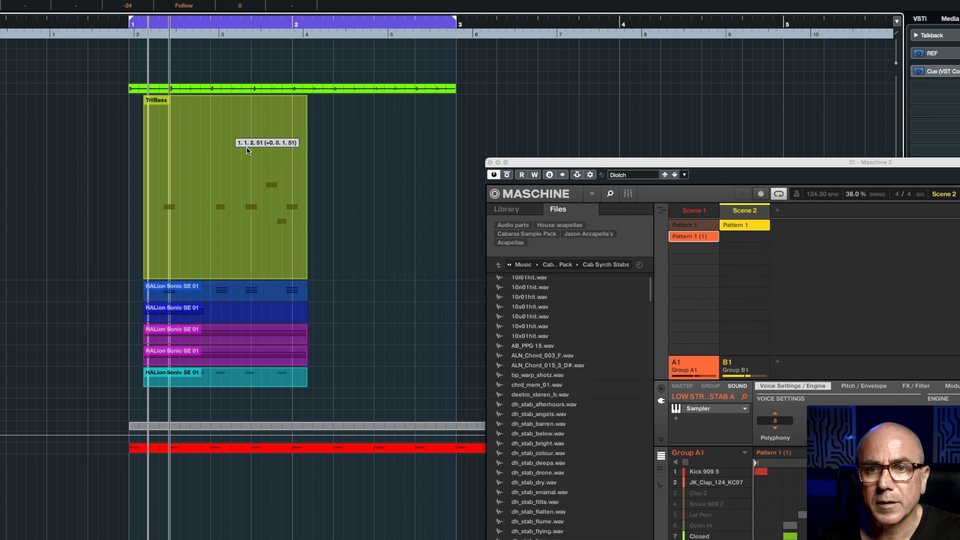
Chapter 8: Stabs
Satisfied with the direction of our track so far, Jason goes hunting for some disco stab samples to give the track some extra flair. Then, he pairs them with some crashes to bring it all together.
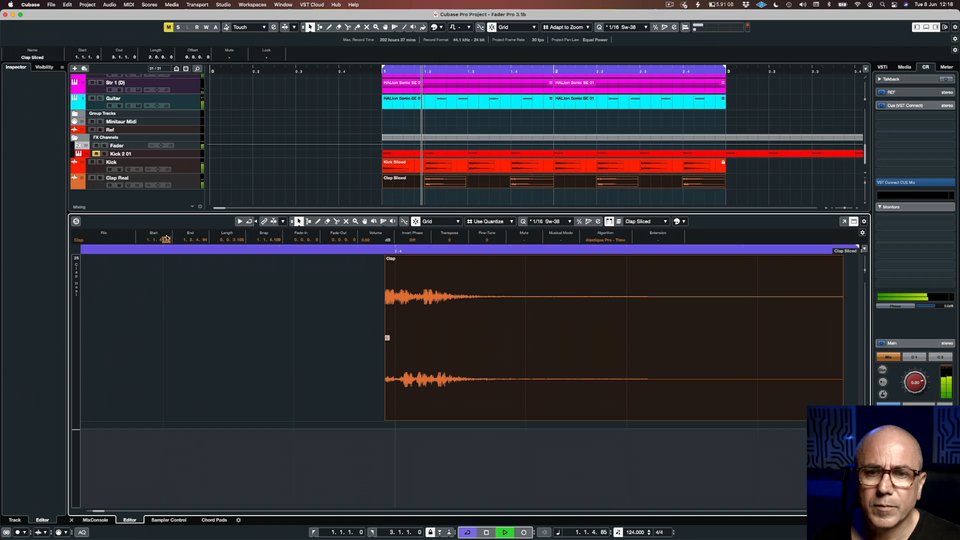
Chapter 9: Exporting from Maschine
With a solid foundation in place, it’s time to move our drums out of Maschine. Then, he starts roughly planning the structure of our track as we get ready to do our first quick arrangement.
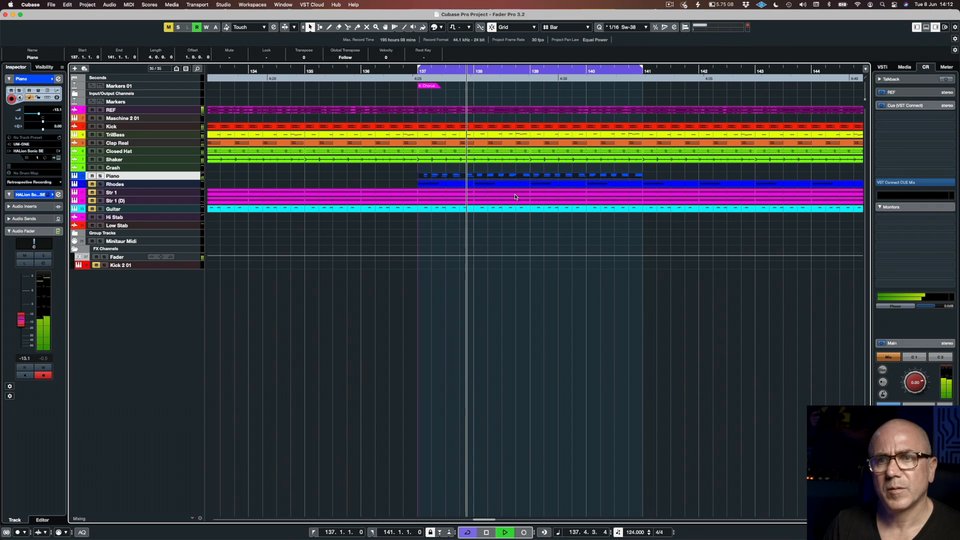
Chapter 10: Recording Keys
In this chapter, we are joined by Davos, a sensation in his own right who will be laying down the keys for our track. The two producers discuss their typical collaborative process as they write and record the track’s main chord progression.
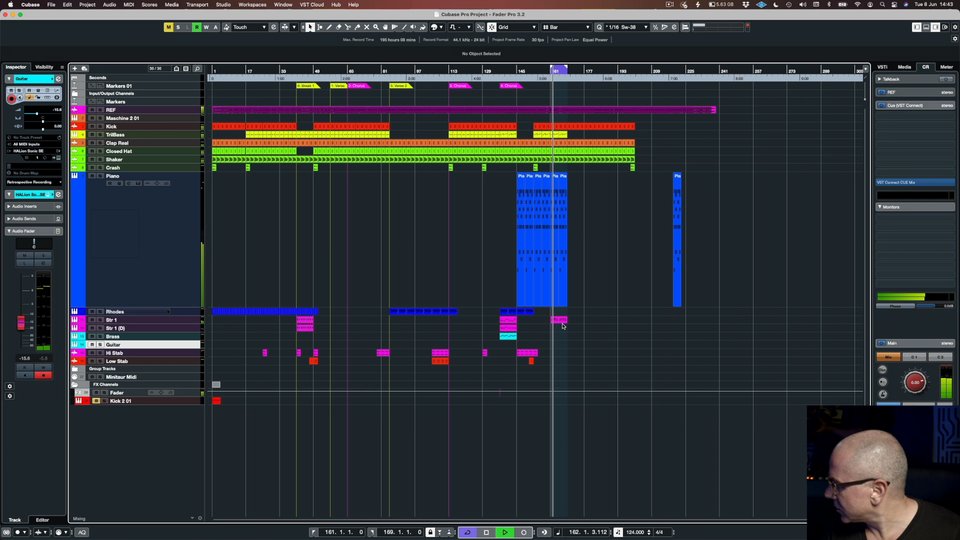
Chapter 11: Programming Strings
After landing on a piano line they’re happy with, Jason and Davos move on to the string section. Then, Davos lays down a quick idea for the session guitarist, using Jason’s original take and his piano part as a reference.
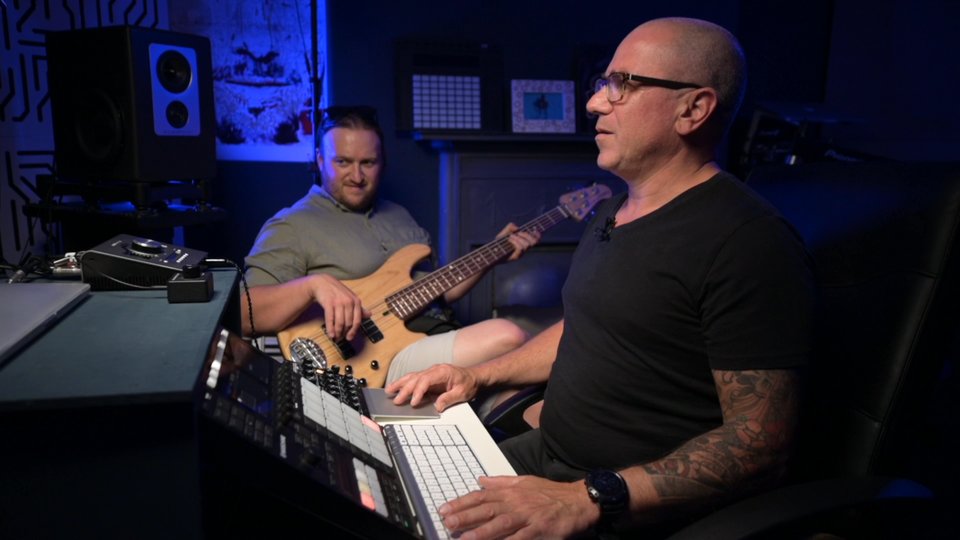
Chapter 12: Recording Electric Bass
In this chapter, we are joined by Jason’s friend Jonathan Towers, a bass player who will be writing and tracking our bass lines. Since the bass is so crucial to a good house track, Jason spends over half an hour showing you how to get the best out of a bass session.
Part 2 - Recording vocals
In part two, Jason shows you the complete process for recording and producing a great vocal. He brings in Sam, a vocalist, and works with her to create a solid and compelling vocal melody for the track. You’ll get an in-depth overview of the workflow including recording, editing, tuning and processing vocal tracks.
![]() Includes the original audio stems from Jason’s project. You can choose whether to download the stems themselves or a project file for Ableton, Cubase or Logic with the stems pre-loaded and lined up. All stems are dry, enabling you to follow along with Jason throughout the course to produce the same final mix.
Includes the original audio stems from Jason’s project. You can choose whether to download the stems themselves or a project file for Ableton, Cubase or Logic with the stems pre-loaded and lined up. All stems are dry, enabling you to follow along with Jason throughout the course to produce the same final mix.
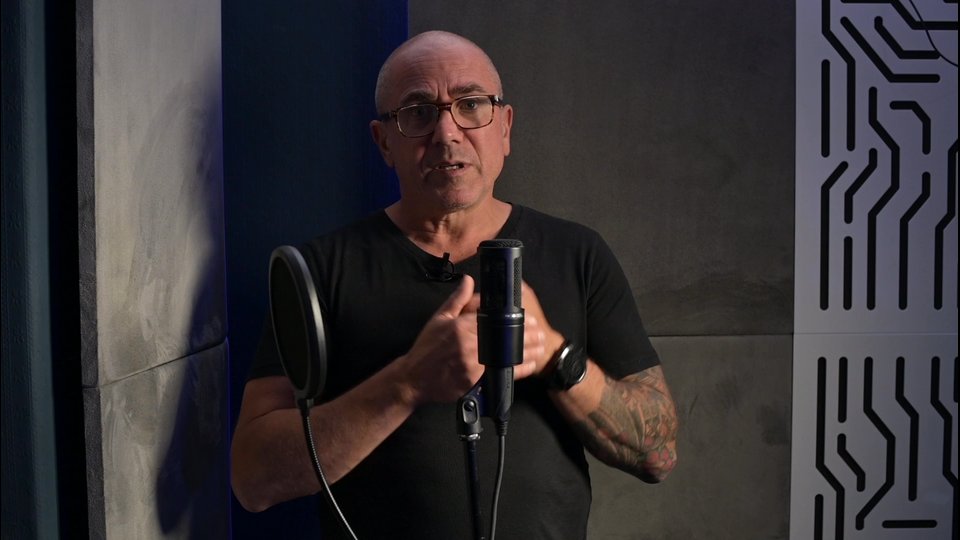
Chapter 13: Setting Up the Microphone
With our bass lines and initial melodies recorded and arranged, it’s time to start getting ready for our vocal session. To get prepared, Jason shows you how to correctly set yourself up for a recording session, covering everything from proper mic setup to room treatment.
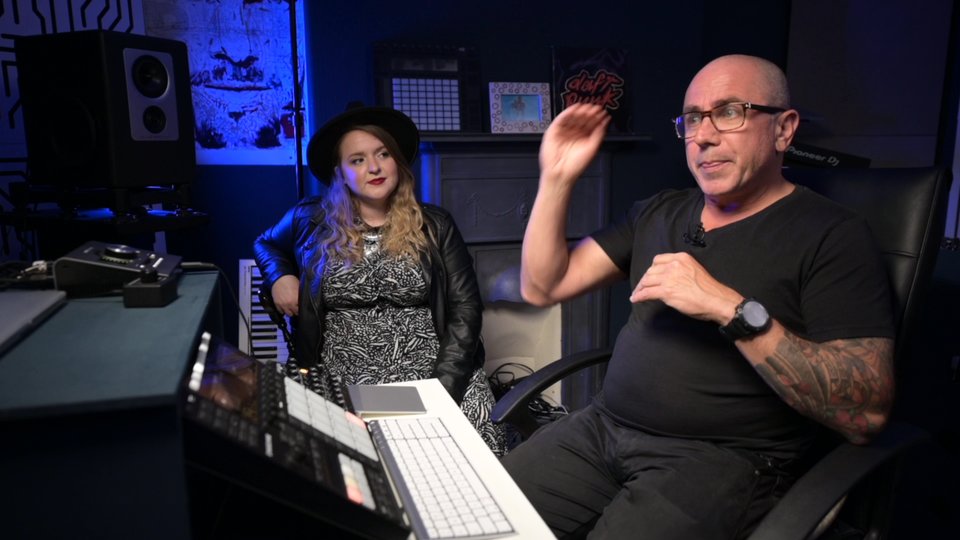
Chapter 14: Introduction to Recording Vocals
For vocals, we are joined by Jason’s friend Sam. The two discuss their standard approach to each session, explaining step by step how a session should run and things to keep in mind.
Chapter 15: Recording Vocals
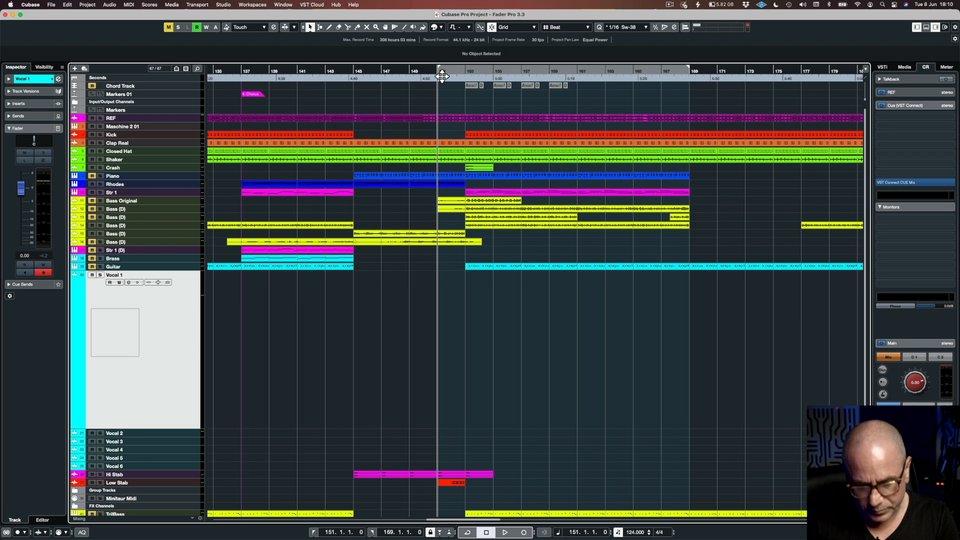
After imparting some words of wisdom, Jason and Sam launch into their vocal session. This chapter serves as a thorough overview of how to properly record vocals and work with an artist in the studio.
Chapter 16: Recording Ad Libs
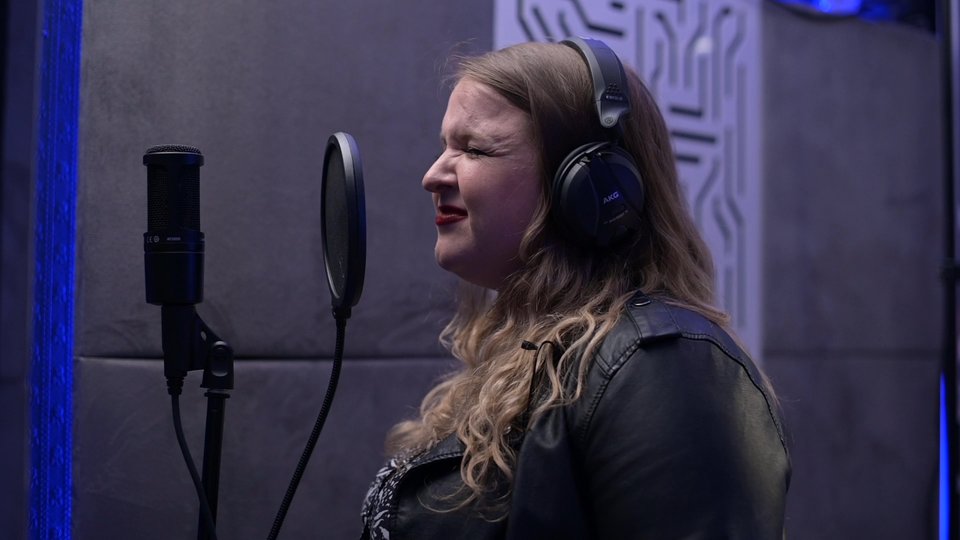
With our main vocal tracked, Sam starts laying down some ad lib vocals and other extra layers. Jason will use all of these tracks later on in different ways throughout the arrangement, either as another vocal layer or as an FX texture.
Chapter 17: Editing Vocals
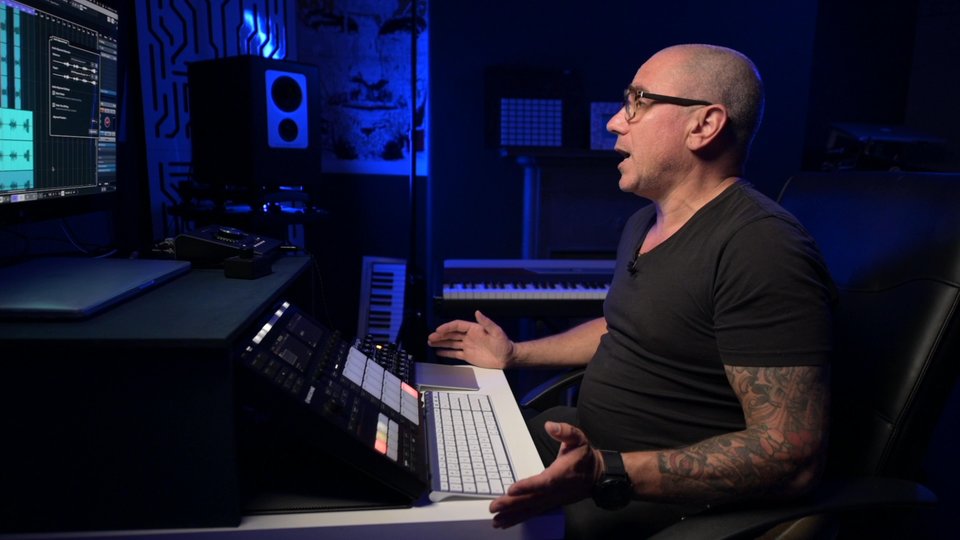
Now that all of our vocals have been tracked, Jason shows you how he goes about editing them and preparing them for mixing. Jason shows you how to make sure your vocals are aligned and make sure they sound natural.
Chapter 18: Vocal Tuning
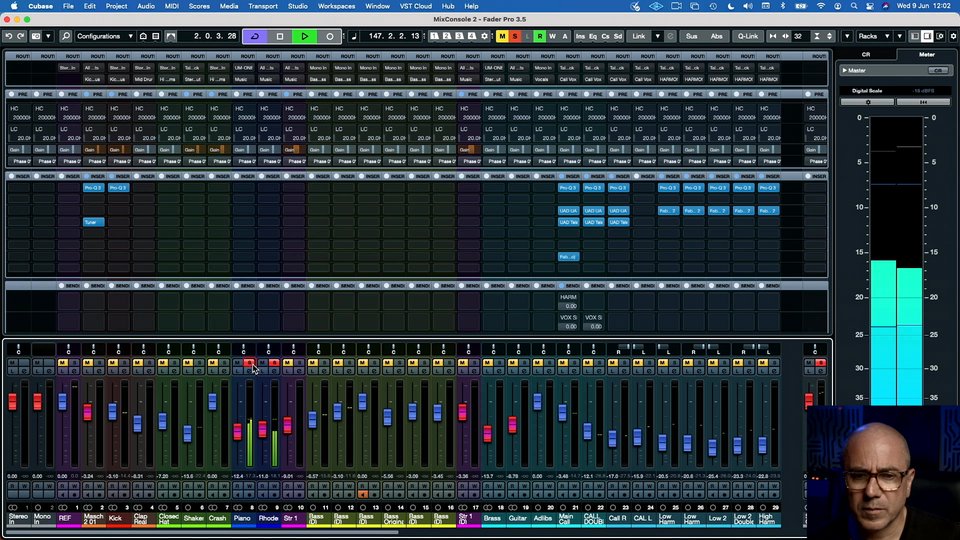
In this chapter, Jason gives you an overview of three different vocal tuning plugins: Auto-Tune, Melodyne, and the stock Cubase option. As he works on the tracks, he explains step-by-step the pros and cons of each plugin, demonstrating their functions throughout.
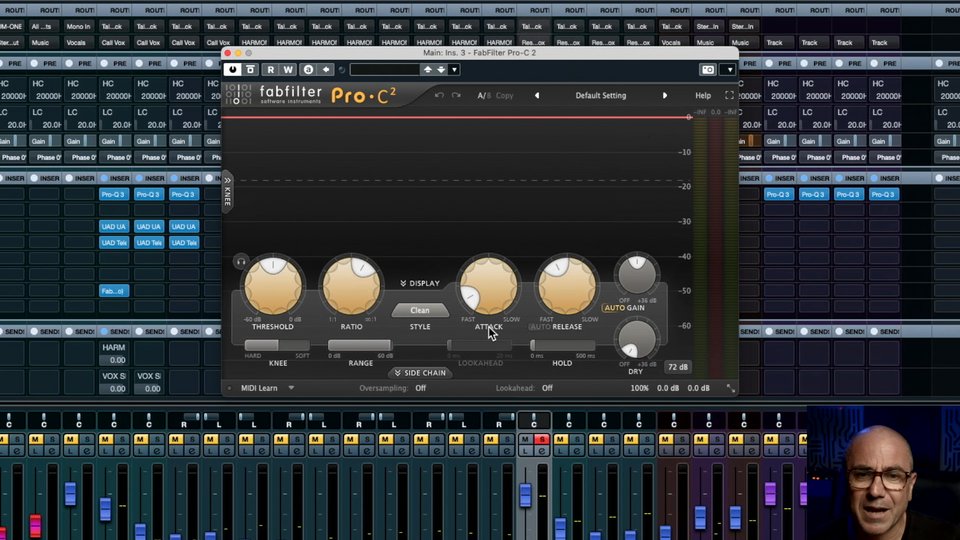
Chapter 19: Vocal Compression
To make sure all of our track’s elements blend together nicely, Jason looks to balance things out by compressing his vocals. This chapter is particularly helpful to anyone trying to learn the ins and outs of compression.
Part 3 - Mixing on the fly
In part three, Jason shows how he mixes on the fly to create a quick rough mix while the creative juices are flowing. Each element that makes up the record is covered, including the vocals and how to further process them, buss processing, setting up and dialing in time-based effects such as reverb and delay. Equalization and compression are also added to the tracks to really get things to start sitting in the right pocket with the right tonal balance. Jason also talks about the use of saturation and how that can really give a track added sonic texture and edge.
![]() Includes the original audio stems from Jason’s project. You can choose whether to download the stems themselves or a project file for Ableton, Cubase or Logic with the stems pre-loaded and lined up. All stems are dry, enabling you to follow along with Jason throughout the course to produce the same final mix.
Includes the original audio stems from Jason’s project. You can choose whether to download the stems themselves or a project file for Ableton, Cubase or Logic with the stems pre-loaded and lined up. All stems are dry, enabling you to follow along with Jason throughout the course to produce the same final mix.

Chapter 20: Mix (Part 1)
Now that you’ve learned how to properly use a compressor, it’s time to start mixing the rest of the track. Jason works his way through the session, treating each individual track with some initial effects as the track continues to gel.
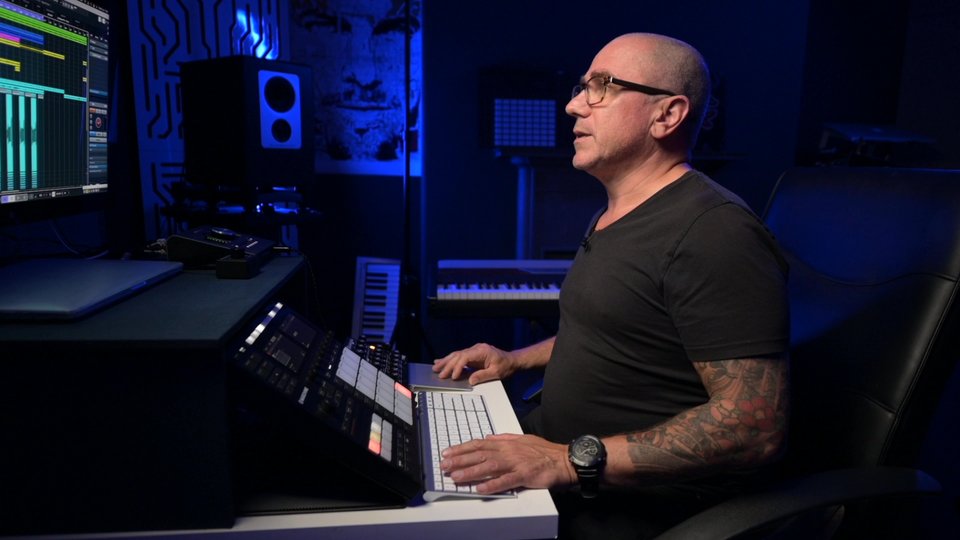
Chapter 21: Mix (Part 2) - Vocals
With our initial mixing stage complete, Jason turns his attention back to the vocals. Once he’s set his levels, he starts by EQ’ing all of his layers. Then, he demonstrates and compares the results of two of his favorite compression plugins side-by-side.
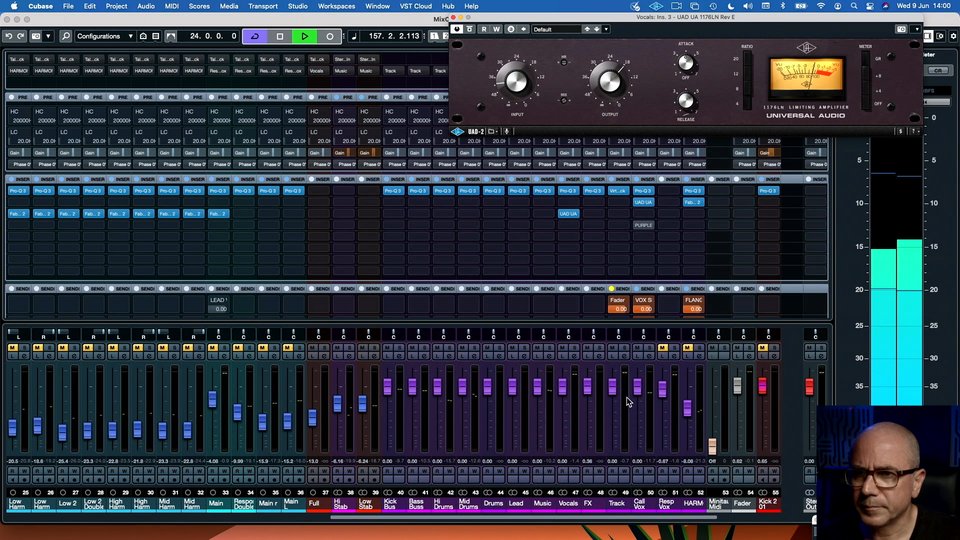
Chapter 22: Mix (Part 3) – Vocal Buss Compression
Now that our vocals have gotten some initial treatment, Jason dives even deeper, adding doubles and compressing our tracks even further.
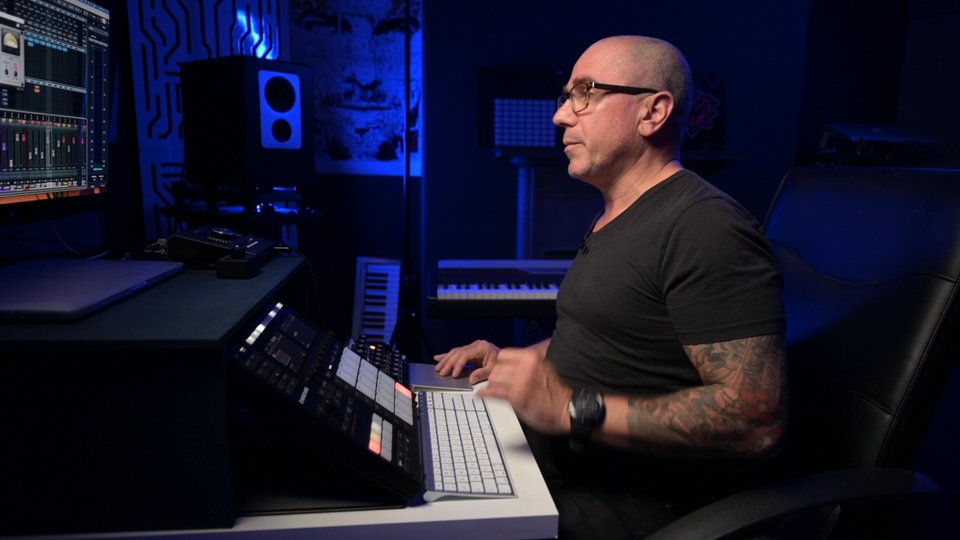
Chapter 23: Mix (Part 4) – Vocal Reverb & Delay
After getting the vocals to sit nicely in the mix, Jason looks to tie everything up in a bow made of reverb and delay. The goal is not to overwhelm the track with effects, but rather to create a nice bed that the vocal can sit on throughout the project.
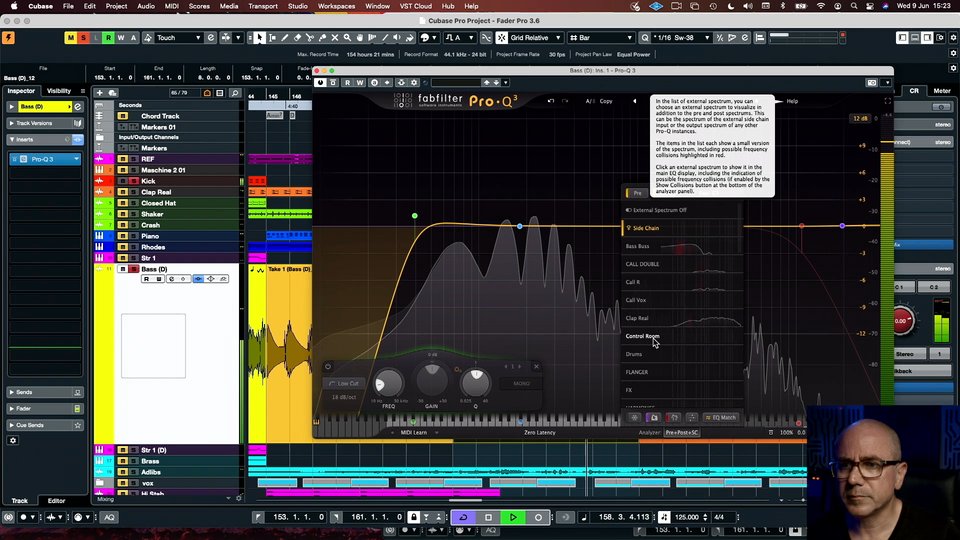
Chapter 24: Bass EQ
Moving full steam ahead, Jason gets to work on arranging and mixing the bass. Once he’s chopped and stitched together his ideal bass section, he walks you through his full approach to properly EQ’ing your low-end.
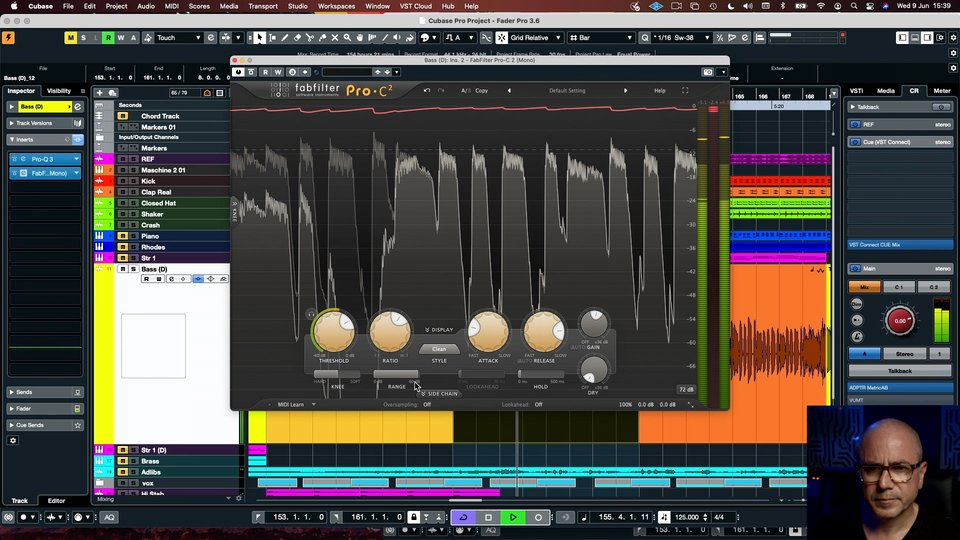
Chapter 25: Bass Compression
With our bass tracks leveled to our liking, Jason gets back to compression. This chapter serves as a nice overview of his approach to bass compression, as he demonstrates several different options within the same plugin.
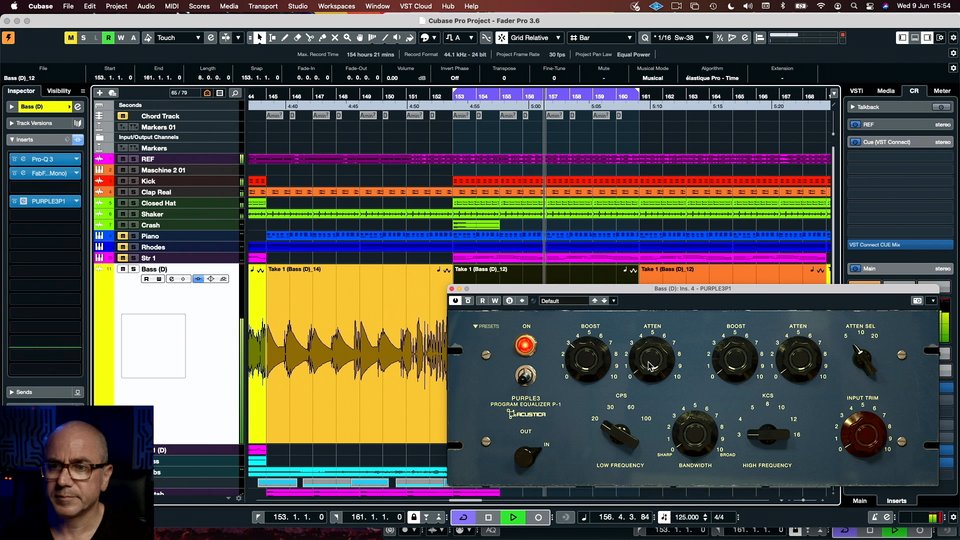
Chapter 26: The Pultec EQ Trick
In this chapter, Jason teaches you all about the famous Pultec trick to bring even more low end out in all of your tracks. Jason spends the entirety of this chapter explaining how the Pultec EQ works and how to fully take advantage of all its quirks and capabilities.
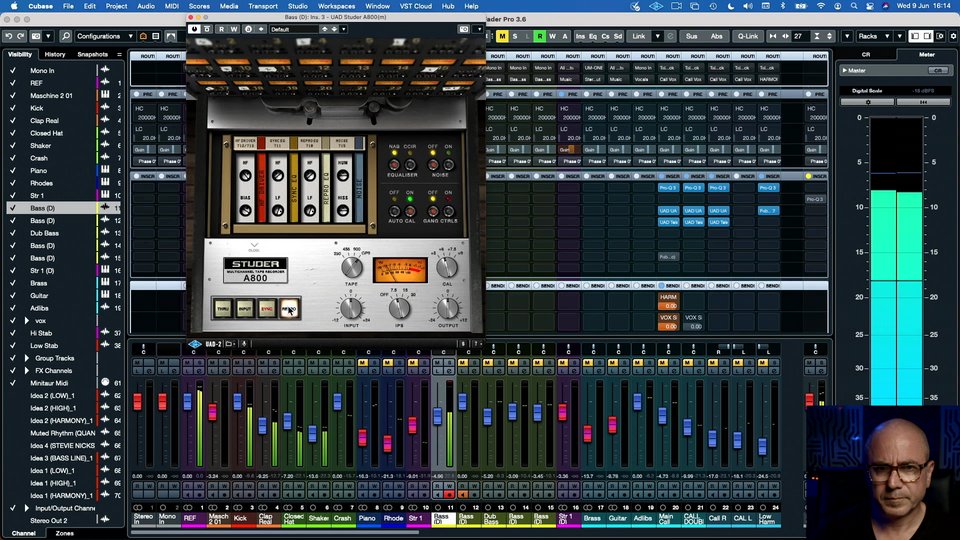
Chapter 27: Tape Saturation
In this chapter, Jason gives you a walkthrough of Universal Audio’s Studer A800 tape saturator emulation. You’ll learn all about how the software works as well as what tape saturation brings to a track.
Part 4 - Arrangement secrets
In part four, Jason begins to arrange all the elements and carves out the structure of the final composition. More elements are also added once the layout takes shape and Jason adds various parts to really keep the listeners engaged, creating all the necessary moments of contrast and impact between each section.
![]() Includes the original audio stems from Jason’s project. You can choose whether to download the stems themselves or a project file for Ableton, Cubase or Logic with the stems pre-loaded and lined up. All stems are dry, enabling you to follow along with Jason throughout the course to produce the same final mix.
Includes the original audio stems from Jason’s project. You can choose whether to download the stems themselves or a project file for Ableton, Cubase or Logic with the stems pre-loaded and lined up. All stems are dry, enabling you to follow along with Jason throughout the course to produce the same final mix.
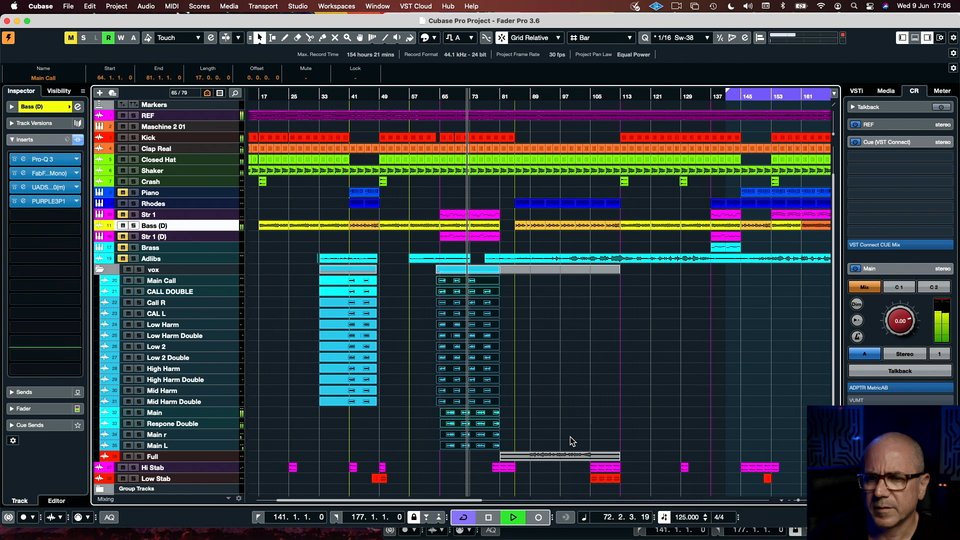
Chapter 28: Arrangement (Part 1)
With our initial mixdown down, it’s time to start arranging. Jason starts by cleaning up the project, then listens through while making some quick adjustments.
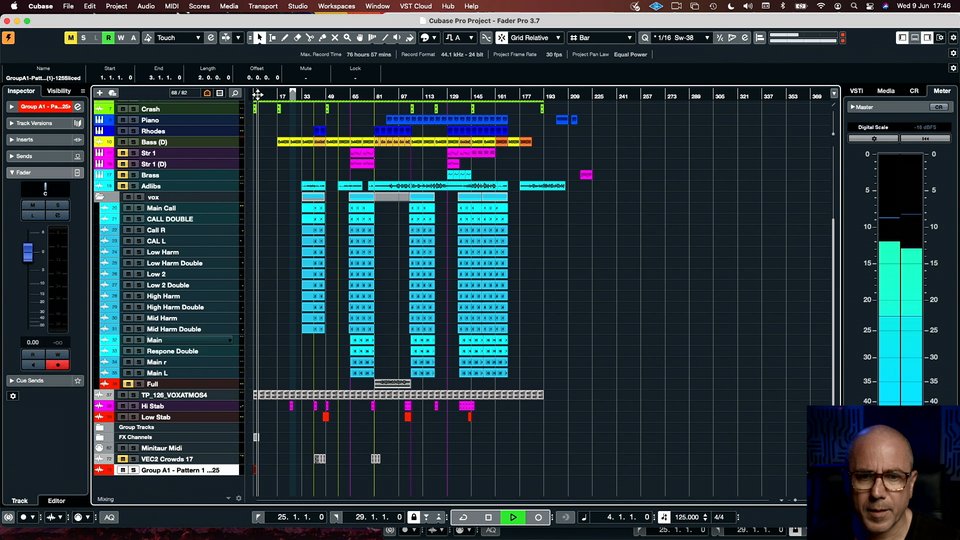
Chapter 29: Extra Percussion
Now that the structure of our track has been sketched out, Jason starts adding some new layers to the mix. In this chapter, he introduces and processes several new percussion elements as he looks to further enhance the groove.
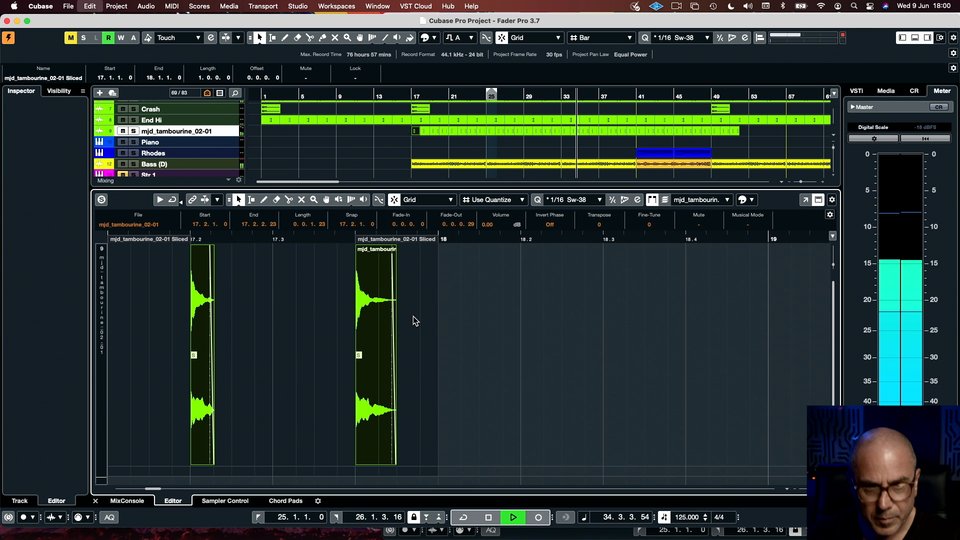
Chapter 30: More Percussion
Jason continues to introduce new percussive elements, this time introducing a tambourine and a shaker to the mix.
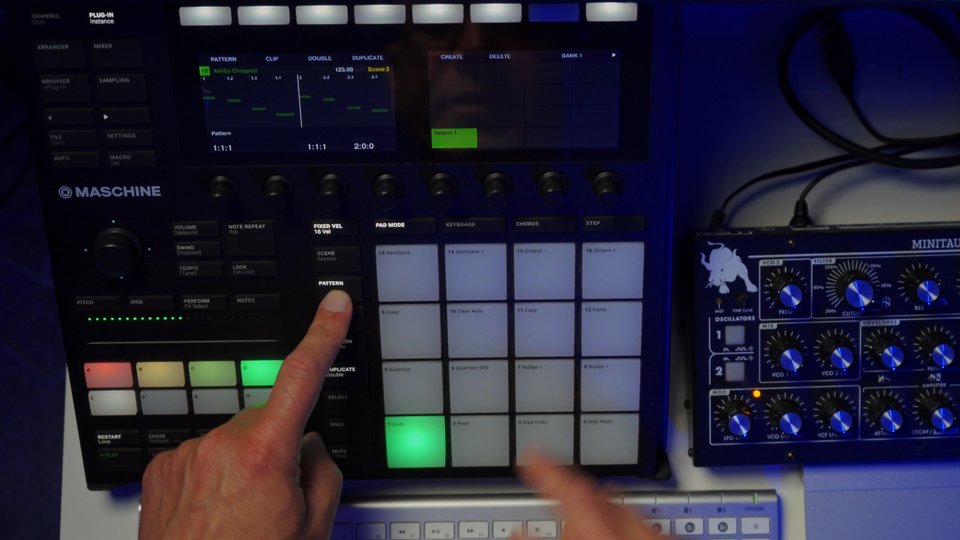
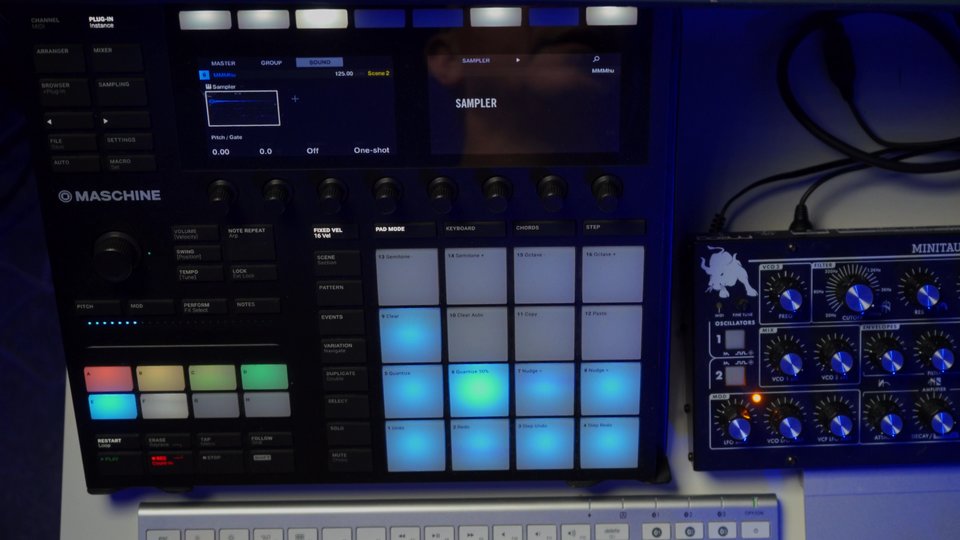
Chapter 31: Sequencing Vocal Samples in Maschine
As the track has continued to come into itself, Jason realizes that the vocal samples are going to play a bigger role than he thought. He starts by importing the vocals into Maschine, then auditions and chops some of his favorite takes to create a new melodic element.
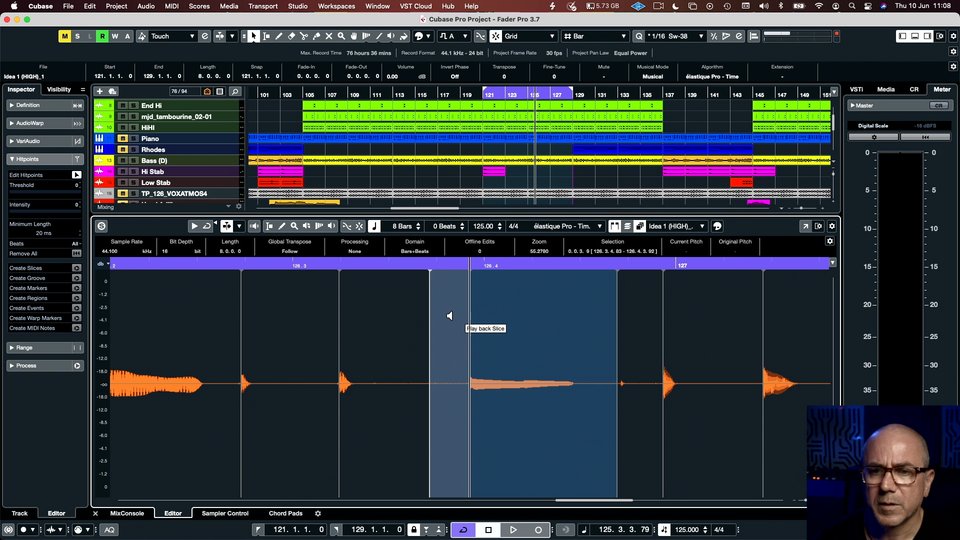
Chapter 32: Vocal Samples (Part 2)
After creating a new melody line using the initial vocal takes as samples, Jason does the same with Sam’s ad libs. Rather than act as an instrument, though, these textures will instead serve to help the track feel more energetic and organic.
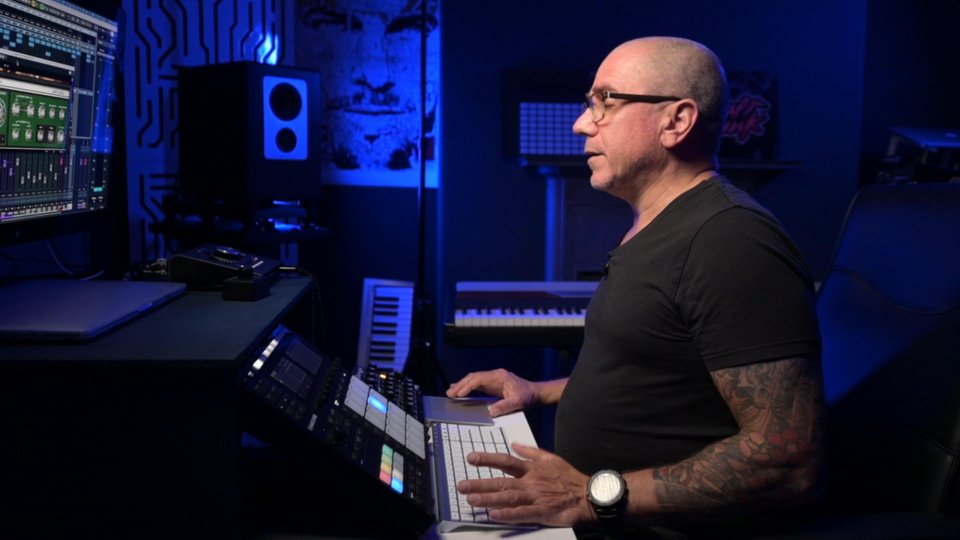
Chapter 33: Editing Guitars
Now it’s time to add in our guitars! Upon receiving some takes from his session guitarist, Jason gets to work editing and arranging several possible guitar lines for the track.
Chapter 34: Processing Guitars
Now that our guitar line is nailed down, Jason walks you through his approach to processing them. This chapter is an excellent resource for general guitar processing, as most of the tips present are not genre specific.
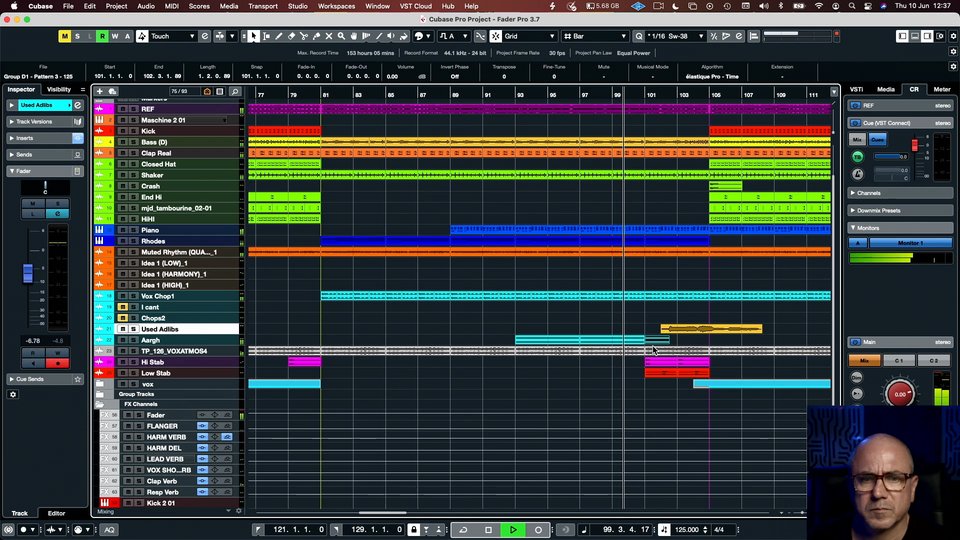
Chapter 35: Arrangement (Part 2)
With our vocals and guitars edited and processed, Jason puts together the final version of his initial arrangement. This will serve as the final structure of the session as we prepare for our final mixdown.
Part 5 - Creating a final mixdown
In part five, Jason revisits the mix as a whole and enters into the final mixing phase of production. You’ll see how he goes even further in-depth on each element, such as the kick, to ensure it has even more punch and clarity within the overall mix. Jason re-examines every other musical element to ensure each is sitting just right, sometimes swapping sounds entirely for something else that suits the mix better in this final phase. You’ll also see his favorite go-to plug-ins as well as the tricks he uses to infuse a signature sound and unique character to his projects. Lastly in this part, watch as Jason programs the final automation.
![]() Includes the original audio stems from Jason’s project. You can choose whether to download the stems themselves or a project file for Ableton, Cubase or Logic with the stems pre-loaded and lined up. All stems are dry, enabling you to follow along with Jason throughout the course to produce the same final mix.
Includes the original audio stems from Jason’s project. You can choose whether to download the stems themselves or a project file for Ableton, Cubase or Logic with the stems pre-loaded and lined up. All stems are dry, enabling you to follow along with Jason throughout the course to produce the same final mix.
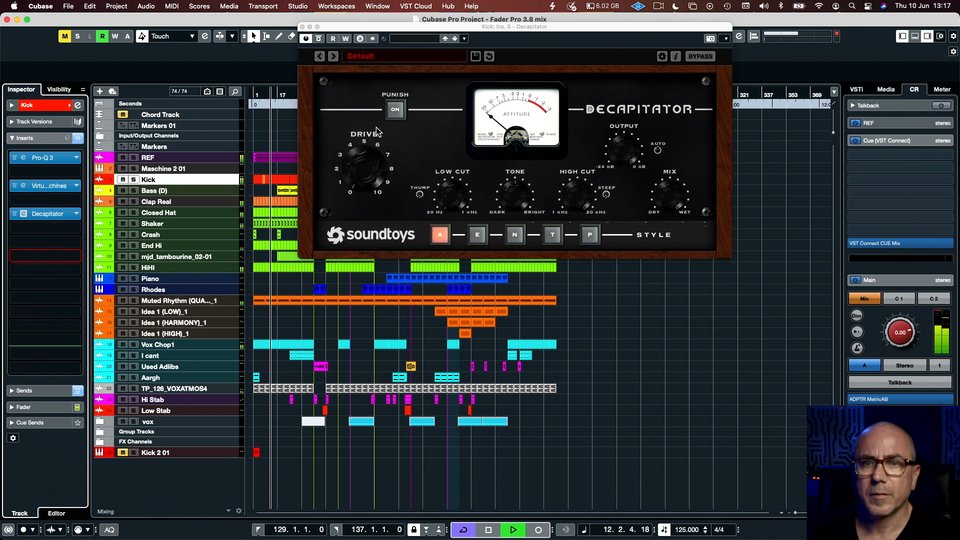
Chapter 36: The Mix (Part 1)
All instruments and elements accounted for, processed, and arranged, it’s time to put the final touches on our track. To get our mixing session started, Jason looks to add even more punch to the kick, nearly transforming it entirely in the process.
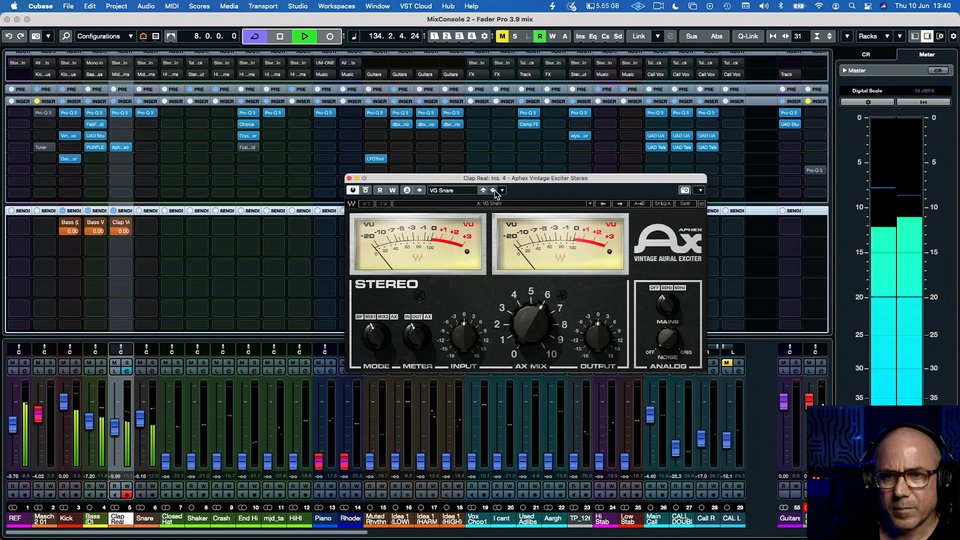
Chapter 37: The Mix (Part 2)
Inspired by the changes he made to the kick, Jason takes a look at the rest of the drums, tweaking and even swapping some samples entirely. Then, he tackles the piano, using some of his favorite plugins to add some vintage analog charm to the track.
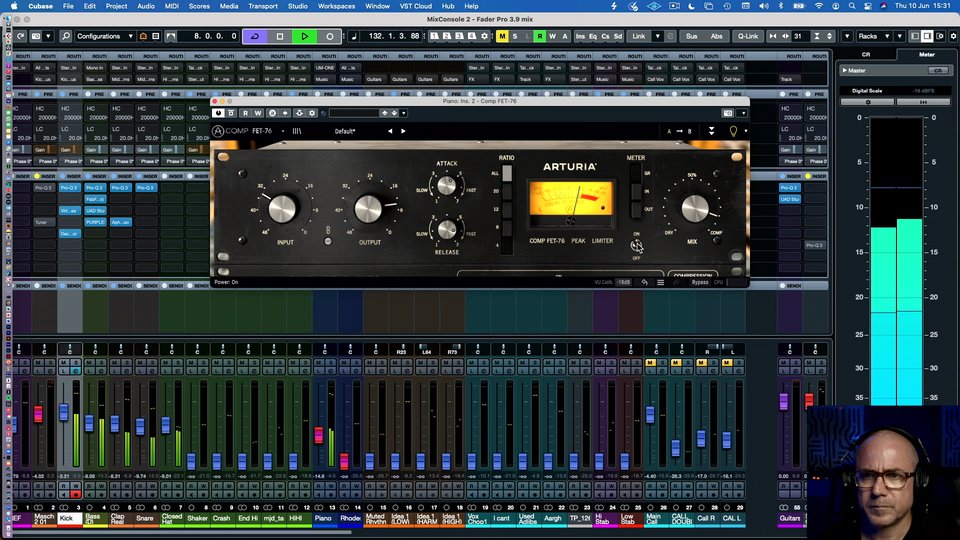
Chapter 38: The Mix (Part 3) - Piano
Looking to build on the momentum of the last chapter, Jason dives even deeper on the piano. Once he’s gotten the tone exactly where he wants it, he turns to Arturia’s Comp FET-76 plugin to find its final spot in the mix.
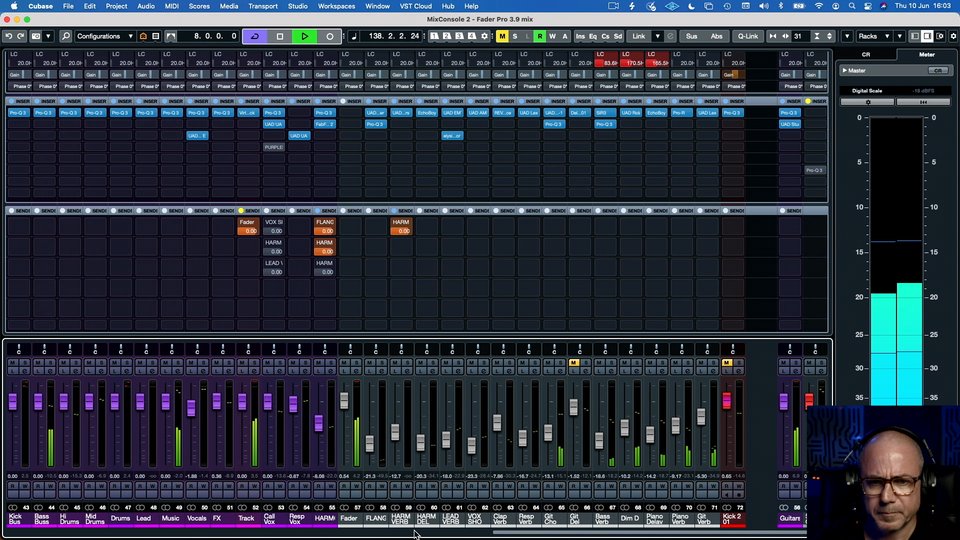
Chapter 39: The Mix (Part 4) – Guitars & Hi-Hats
With the piano sitting exactly where we want it, Jason gets to work on the guitars and hi-hats. He starts by tightening up the guitar by adding a digital reverb, then uses some of his favorite plugins to give the hats some more character.
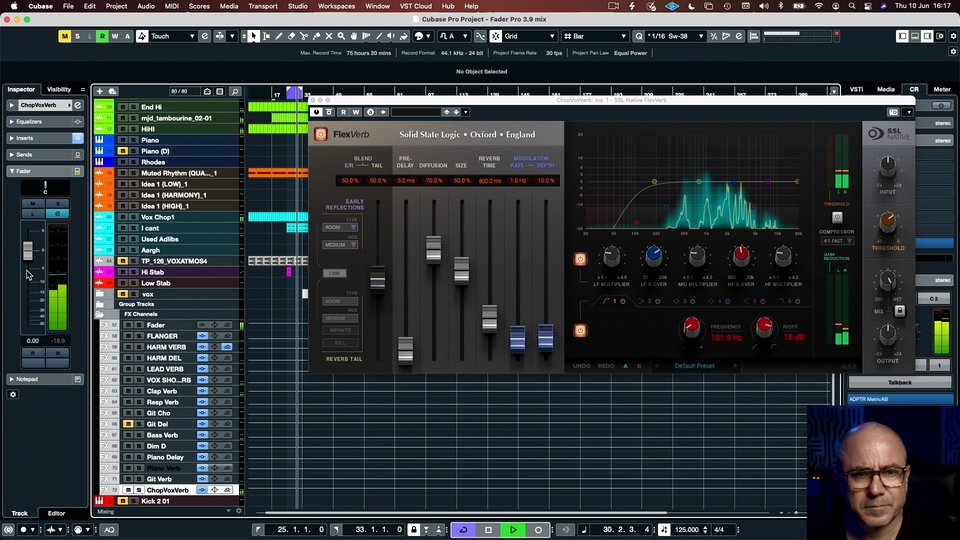
Chapter 40: The Mix (Part 5) – Vocal Stabs
Moving right along, Jason gets to work his treating the vocal chops he introduced previously. After some introductory EQing, he looks for just the right reverb and delay to help glue them to the rest of the track.
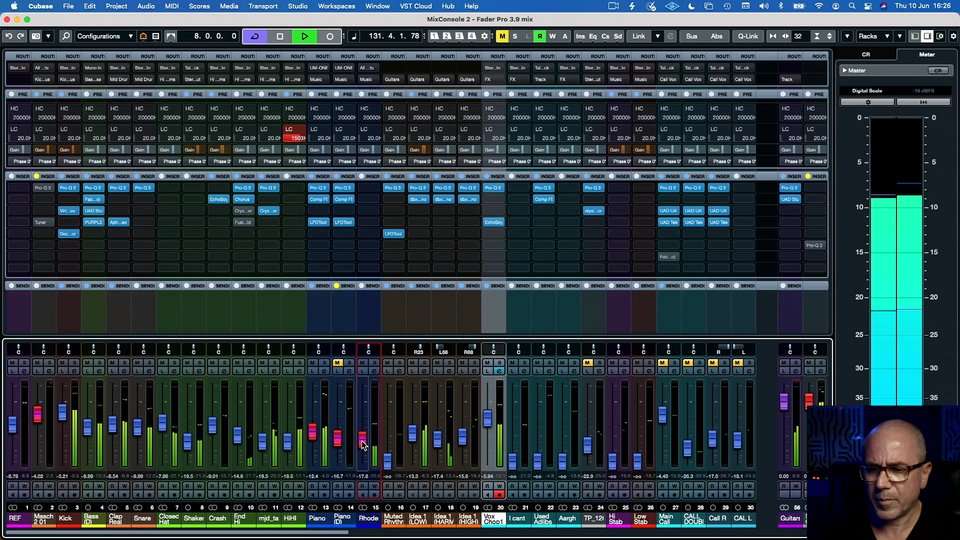
Chapter 41: The Mix (Part 6)
Now that all of our track’s main elements have been treated individually, Jason listens through to do another level check. Throughout the process, he takes note of where everything currently sits in the mix.
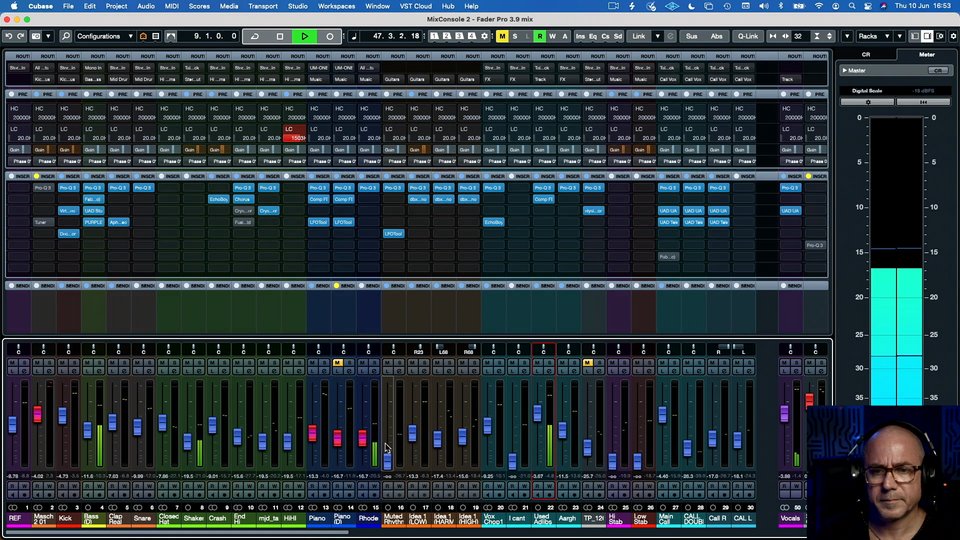
Chapter 42: The Mix (Part 7)
After balancing and leveling the rest of the track, Jason reintroduces the main vocals to the mix. The goal here is to see how the primary vocal plays against the new layers added to the arrangement and to, hopefully, finish piecing the puzzle together.
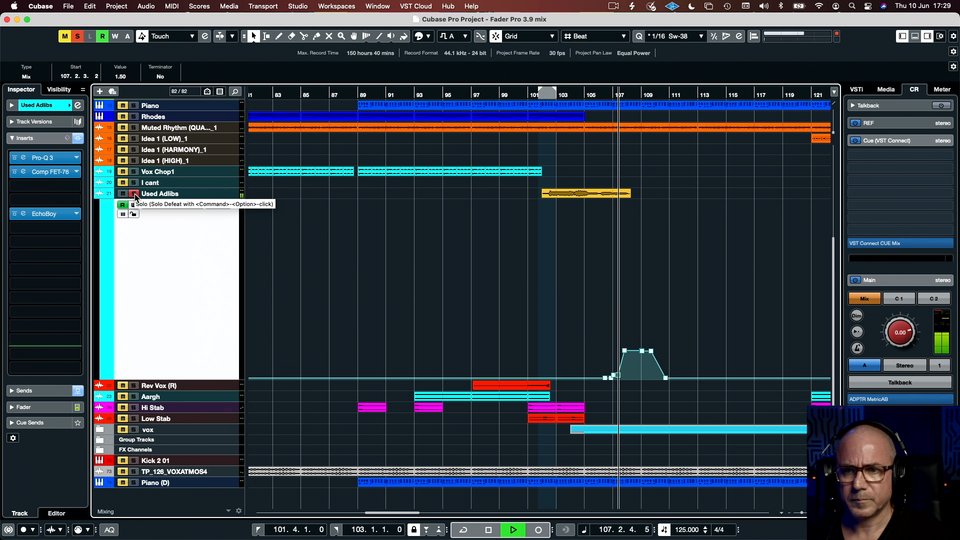
Chapter 43: The Mix (Part 8) - Automation
In this final phase of the mixdown, Jason works his way through the arrangement and begins drawing in automation across the project.
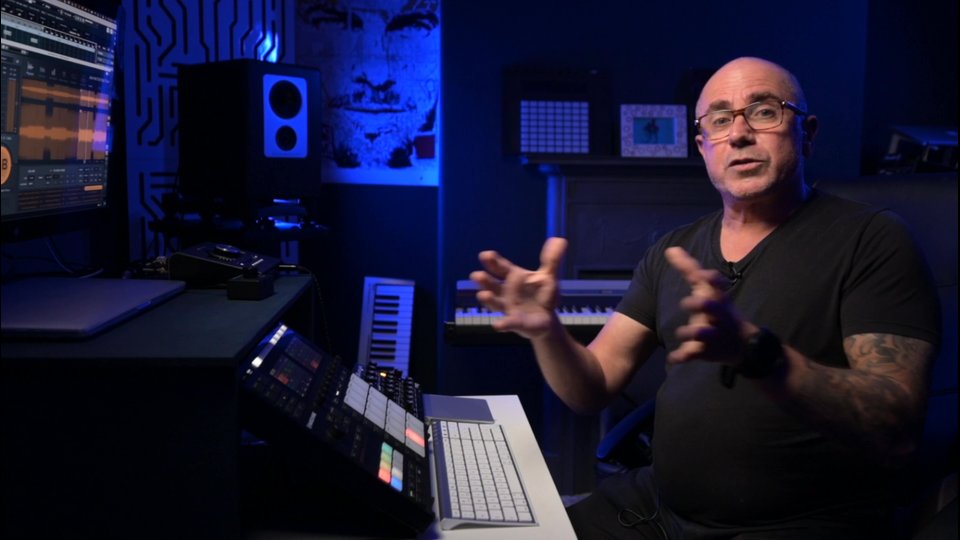
Chapter 44: Final Thoughts
As our session comes to a close, Jason takes one last look at the project before leaving you with some advice and parting words of wisdom.
Part 6 - Refining a track
In part six, you’ll gain insight into how a track can be refined after the main production and mixing phases are complete. After a few days of testing the track outside the studio and with a fresh set of ears, Jason comes back to refine some of the areas he feels can make the track even stronger.
One question that’s often asked is “how do you know when a track is finished?” While it could be argued that a record is never finished, at some point we producers need to commit the final tweaks so we can get our music out there and move on to other productions.
So, in this final part of the masterclass, Jason shows you exactly the kinds of things he hears and how he addresses them to commit to the finished track.
![]() Includes the original audio stems from Jason’s project. You can choose whether to download the stems themselves or a project file for Ableton, Cubase or Logic with the stems pre-loaded and lined up. All stems are dry, enabling you to follow along with Jason throughout the course to produce the same final mix.
Includes the original audio stems from Jason’s project. You can choose whether to download the stems themselves or a project file for Ableton, Cubase or Logic with the stems pre-loaded and lined up. All stems are dry, enabling you to follow along with Jason throughout the course to produce the same final mix.
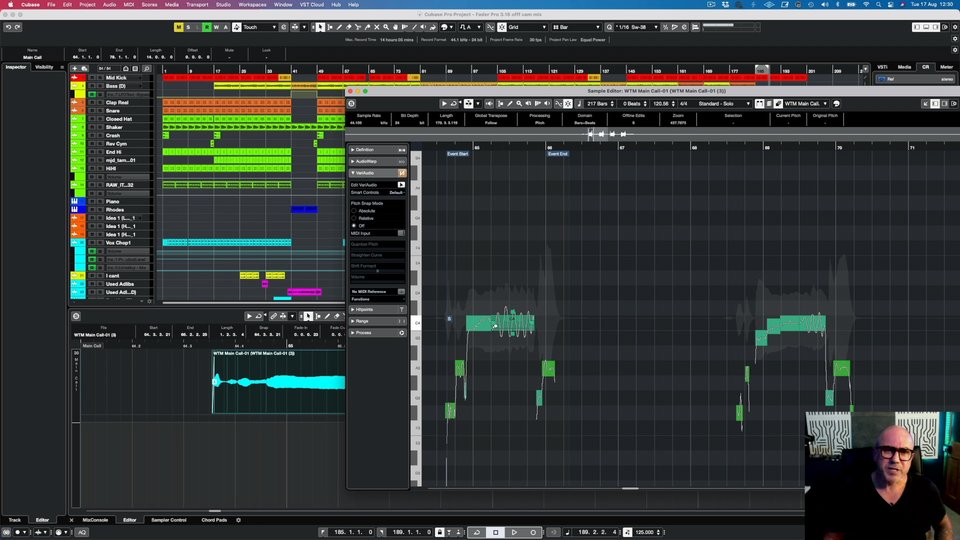
Chapter 45: Mix Update
After some time away from the project, Jason takes you on a tour of his updated mix.
Ready to get in the studio with Jason Herd?
Two ways to watch this masterclass
Watch this and every other course in our catalog for a simple monthly subscription of $29.99
LEARN MORE


Questions?
The whole masterclass is 12 hours 15 minutes, split into 6 parts totalling 45 easy-to-digest chapters.
The duration of each of the parts is:
Part 1: 3hrs 12mins
Part 2: 1hr 38mins
Part 3: 2hrs 9mins
Part 4: 2hrs 29mins
Part 5: 2hrs 15mins
Part 6: 28mins
The entire 6-part masterclass costs $186.99
Watch the trailer Sure, take a look at the trailer as it'll give you a good idea of what Jason will cover in the masterclass course.
We've also included some free clips from the course so you can also check those out too.
Yes, for sure. New courses are released exclusively to Producers Club members first whilst being available to pre-order for non-members. So, if you're a member... lucky you!
No. Once you've bought the course you can watch it at your own pace. You get lifetime access here at faderpro.com so you can come back to it whenever you want, re-watching chapters as and when you need.
Or, if you're a Producers Club member, you can watch it at any time whilst your subscription is active.
No. We've worked with Jason to curate the course into 45 chapters lasting over 12 hours. It's pre-recorded and edited together to make it easy to digest. And so you can come back and watch it again and again.
Jason uses Cubase in this masterclass but the techniques he shows you are completely transferrable into your own DAW of choice. So whatever DAW you have, this masterclass is still totally relevant to you!
No. If you don't use Cubase, don't worry. The skills Jason teaches you in this masterclass are completely transferrable into your own DAW of choice.
Once you've got access to the course (by either purchasing it for lifetime access or by joining the Producers Club) you'll be able to download the stems from the 'Resources' tab on the main course page.

100% satisfaction guaranteed.

